How to Think Like a Product Designer
How the Team at Beyond Design Goes from Idea to Finished Product
Our Beyond Design team recently completed a four-part webinar series, in partnership with the B&H and Wacom, called ‘Think Like a Designer.’ We walked attendees through the basics of the entire design process, from the first flicker of an idea to a finished, working product.
If you missed the webinar series, never fear! We’ve put together this summary of the main points from the series so you can learn what it means to think like a designer. You can also watch the recorded streams [here] anytime.
Session 1: The Ideation Process
The first step in design is a spark. It’s that moment when you look at a basic tea kettle and think to yourself, “This could be a little bit better,” or, “This could be redesigned completely.” Finding that spark involves a lot of observation and experience. You have to open yourself up to the world of products around you and the needs of people who use them.
At Beyond Design, sometimes our clients come to us with a spark of an idea. “We really want to create a product that does X, Y, and Z. Can you do that?”
Our answer: Of course we can! Let’s get started.
Customer Personas
You want to create a product that serves a large number of people, but focusing on meeting the needs of millions of people can lead to a lack of focus and inspiration. That’s why at Beyond Design and other design firms, we focus instead on just a few customer personas.
A customer persona is essentially an imaginary person (or a couple or family) who represents the ideal audience and customer for your product.
For example, let’s go back to our electric kettle concept. You might develop a persona of a young couple living in a small urban apartment where space is at a premium. They want a way that he can enjoy his morning tea and she can enjoy her morning coffee using the same space-saving device that’s easy and fast to use and clean.
Creating detailed customer personas helps you move forward with focus to the next stage— sketching your product.
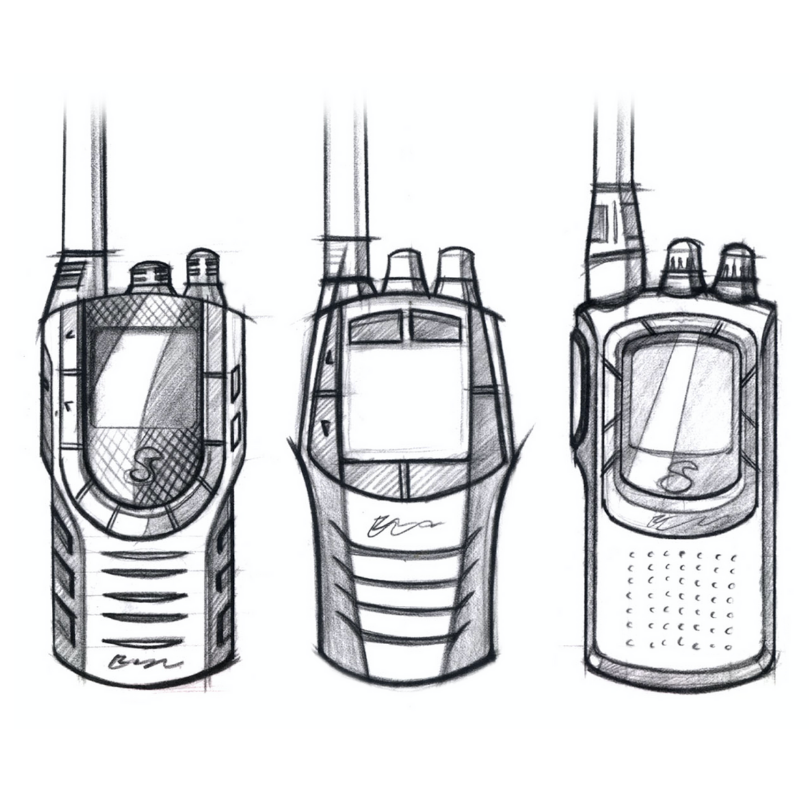
Image Boards & Sketches
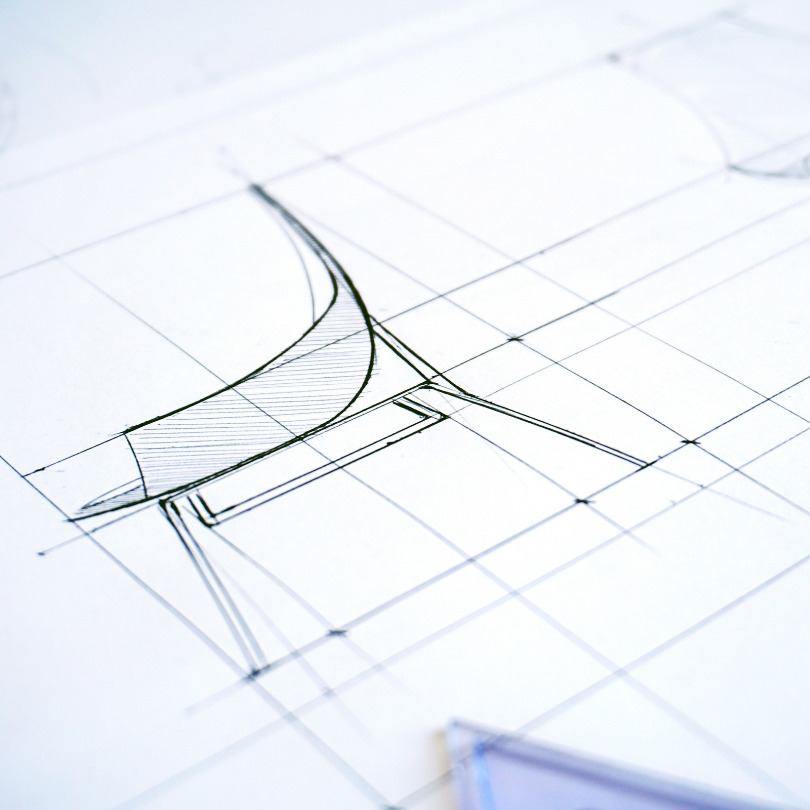
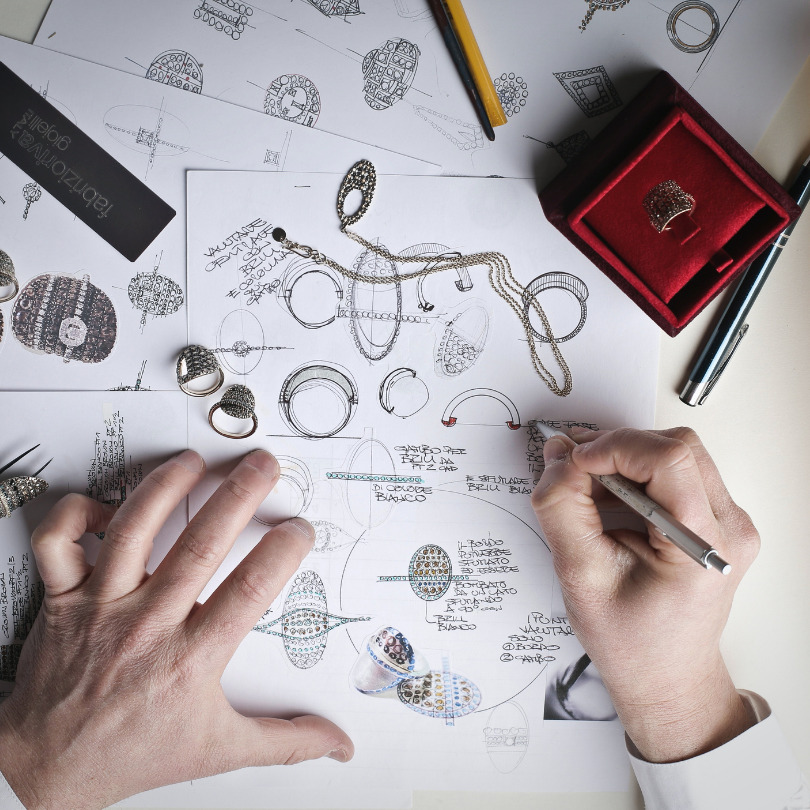
Before your first sketch, you may want to create an image board: a collage of existing products, designs, and even shapes that will serve as inspiration. Anything that will help guide your design process can go on these imageboards.
Next, it’s time to start sketching your product. We use the term sketching generally — it might mean actually sketching with a pencil in your notebook, but it also might mean developing ideas in list form, or working on a digital device. There are some excellent sketching tools used at Beyond Design. One of them is a sketching or product design tablet, like those developed by Wacom. Another tool is the software called Sketchbook Pro.
Whatever tool you use, sketching helps begin the process of turning your idea into a product.
Session 2: Refining Your Concept
Now that you have some sketches and a bit of direction for your design, it’s time to refine that concept.
Details, Details, Details
In the initial sketching phase, you likely came up with the basic parameters of your design. In the electric kettle example, you might decide its general shape, what major features you want it to have or capabilities that are important to you.
Now it’s time to look closer. This phase is where our designers would start thinking about product materials, colors, and other elements that will help the product work effectively (and attractively) in the new world. Materials, for example, aren’t just about appearance. They’ll need to serve the needs of the product and its users. In a tea kettle, for example, you’ll have to consider the effect of heat on certain materials.
Photoshop as Sketching Tool
While most people think of Photoshop mainly as a tool for editing their photos, at Beyond Design we use it at this stage, when we’re ready to move beyond basic sketches to more fleshed-out concepts. Photoshop is effective at helping us see how our products might look in the real world, and it’s powerful enough to take on a wide range of design tasks.
After we’ve worked with Photoshop on the details of design, it’s time to bring our idea even closer to the real world.
Session 3: From Concept to Full Design
Sketches can be a great way to develop the look of a product, but at Beyond Design, we need to take things a step further before we have the confidence to create a physical prototype. That’s where 3D modeling comes in.
Sketch vs. Model
A sketch is a visual representation of the product. A sketch can use 2D perspective (flat, showing a side of the product from straight-on view) or 3D perspective (three-dimensional, showing the product as it would appear in physical space when looked at from a specific angle). But even a 3D sketch has its limitations.
A 3D model, however, is a full digital reproduction of the product. It’s a true three-dimensional model, which means that it can be digitally rotated to be viewed from any angle. It’s easy to see why this is an even more effective way of assessing a product design than a static sketch.
CAD Software: A Design Essential
At Beyond Design, and at design firms around the globe, the industry standard for 3D modeling is CAD software. CAD stands for computer-aided design, a fitting name considering how much we depend on it to guide our design process.
CAD software lets us go from sketch to fully fleshed-out design, with documentation tools that provide extra information that will be critical in the manufacturing process— info such as dimensions, materials, processes, and more.
Thinking About Manufacturing
While manufacturing is usually on our mind throughout the design process, once we’re creating 3D models it’s really time to start considering the way our design will actually come to life. It’s at this point that serious discussions about the best materials and manufacturing methods will need to happen. As much as the design may look great as a 3D model, the materials it’s made of in the real world will go a long way in determining whether it will actually function properly.
Session 4: Bringing Your Product to Life
If you’ve reached this stage, you’re nearing the home stretch. It’s now time to tackle the last few steps that take your idea from a design to a working, functioning product.
What is photorealistic rendering?
We started with an idea, which turned into a sketch, which turned into a 3D rendering. Is the next step a physical prototype? Not necessarily. At Beyond Design, we’ll often create something called a photorealistic rendering, and it’s exactly what the name implies. With modern rendering technology, we can now create an imageof a design that’s so realistic that it looks like an actual photograph. This allows us to see the product in all of its detail, as if it exists in the real world. We’ll even sometimes render it into a full environment to see how it looks. With our electric kettle example, we might render the product in a photorealistic kitchen space, to see how it fits on a countertop alongside other home appliances.
Once we’ve created a photorealistic rendering and are satisfied with what we see, it’s time to bring our design to life.
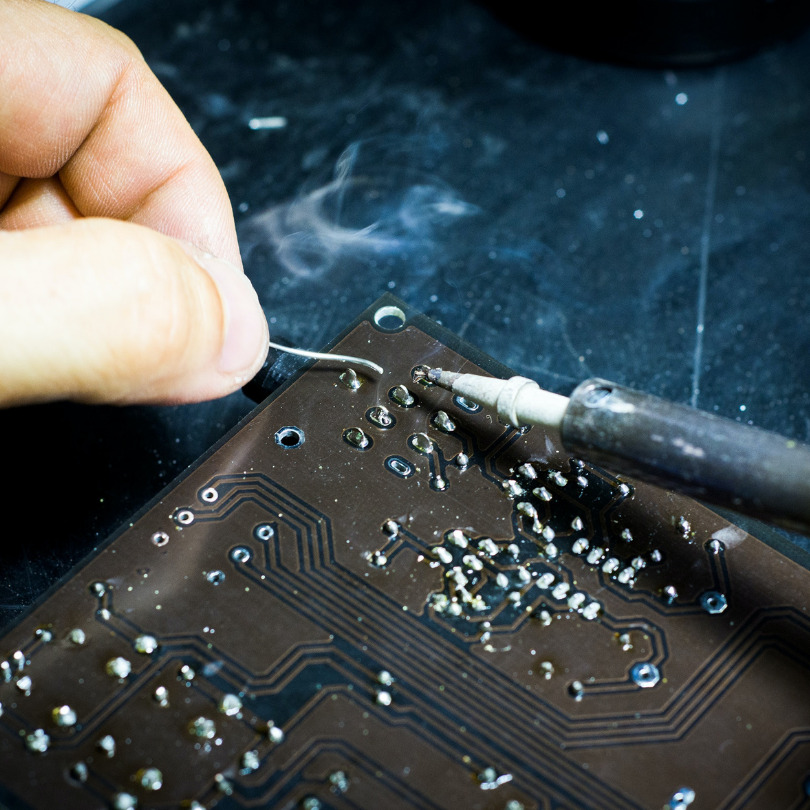
The Prototyping Power of 3D Printing
One of the most transformative new technologies in the world of design has been the invention and widespread availability of 3D printing. 3D printers can be as large as a room or as small as a normal desktop printer, and are able to produce functional or semi-functional prototypes in a fraction of the time and at a fraction of the cost of what we would have had available several years ago.
The efficiency of 3D printing has delivered huge benefits for prototyping. Creating prototypes in the past could often cost hundreds or thousands of dollars, which made designers reluctant to create too many prototypes early in the process. Today, 3D printing allows for a much more iterative approach to prototyping. We can create prototypes earlier in the process, test them out, see them in the real world, and then make adjustments based on what we’ve learned – then do it all again. At Beyond Design, 3D printing is a critical part of our design process, as it isr many other experienced designers and firms.
Conclusion
Once we’ve created a working prototype that meets all the standards that we’ve set for the product, and it’s been tested in the real world, the design process is finished – for now – as we move on to the manufacturing stage. This is when the product is produced in larger quantities to be shipped, sold and put into use!
That said, design never really stops. Think about the phone in your hand or in your pocket. Chances are it’s not the only version of that phone that’s ever been sold to consumers. The design process is an endless cycle of creating something that (hopefully) works, sending it out into the world, and watching the world use it until you find a way to make it even better with new knowledge or new technology.
The endless cycle is the reason we call ourselves Beyond Design—our work doesn’t end once the product is finished. We’ll support your idea from the first spark to mass production and beyond.
 Top
Top